This feature may come in handy If you are manipulating very large lists.
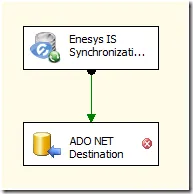
In order to achieve this synchronization, we will provide a specialized data flow source component:
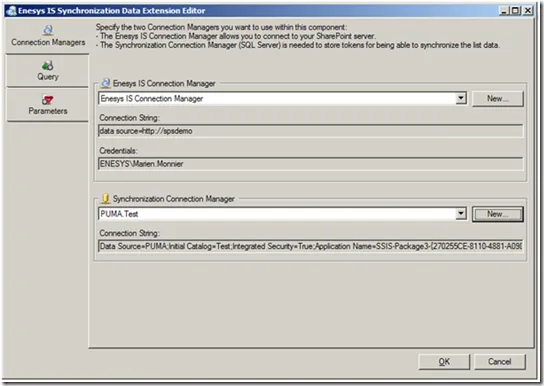
Note in the previous screen shot that you will need two connections. One connection is used to retrieve SharePoint data from a SharePoint server. The other connection is used to store and retrieve synchronization tokens into a table.
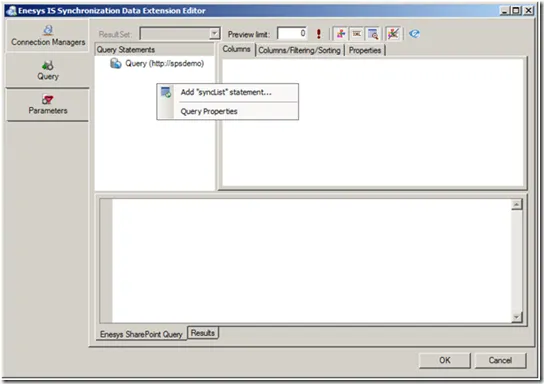
Specifying the list to synchronize is done through our Query Designer.
You will add a “SyncList” statement:
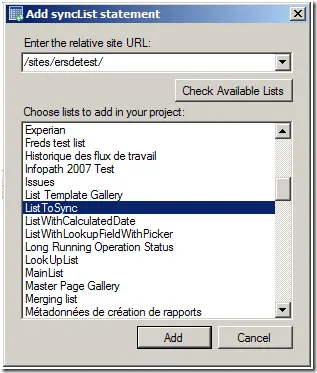
Select the desired SharePoint list:
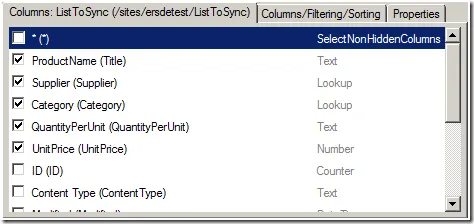
Select the needed fields:
Test the query within the Designer:
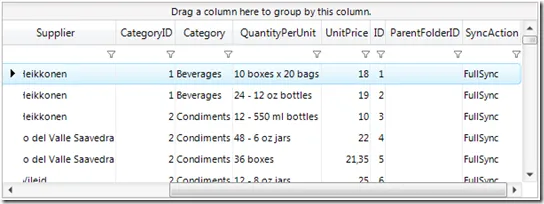
In the previous screen shot, you can see a “SyncAction” column that will tell what needs to be done with this item (full synchronization – meaning that all items have been returned, new or updated item, deleted item).
The “SyncList” statement will retrieve and update the synchronization token each time it is executed (except in the query designer) so that it knows which changes have occurred since the last execution.
Now, how do we build our Integration Services task starting from our synchronization component?
First, we will store the data returned by Enesys Synchronization component into an intermediate SQL Server table.
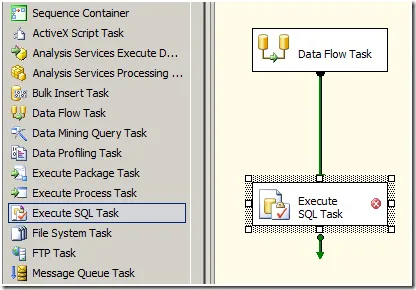
Then we will add an Execute SQL Task in order to Merge the changes into our target SQL Server table (the table that we want to keep in sync with our SharePoint list):
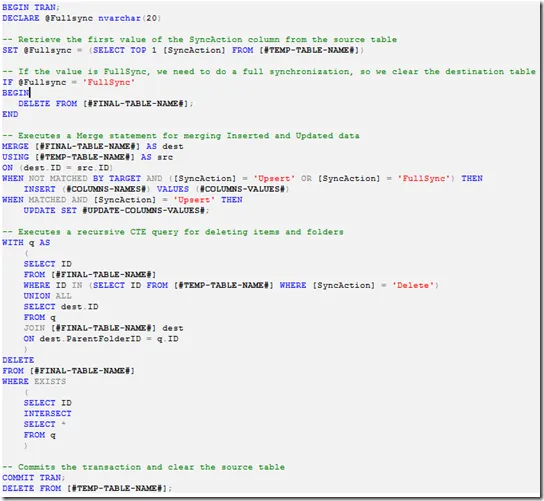
Finally, here is the SQL Query that is needed. Here, we take advantage of the SQL Server Merge statement that is especially suited for those scenarios:
Hope you will enjoy.